Pages

Showing posts with label First Birthday Party. Show all posts

Wednesday, March 19, 2014

Time Flies: 1st Birthday Party

Well my niece officially turned ONE last week!  I can't believe how quickly the first year went by.  Time really does FLY by! 


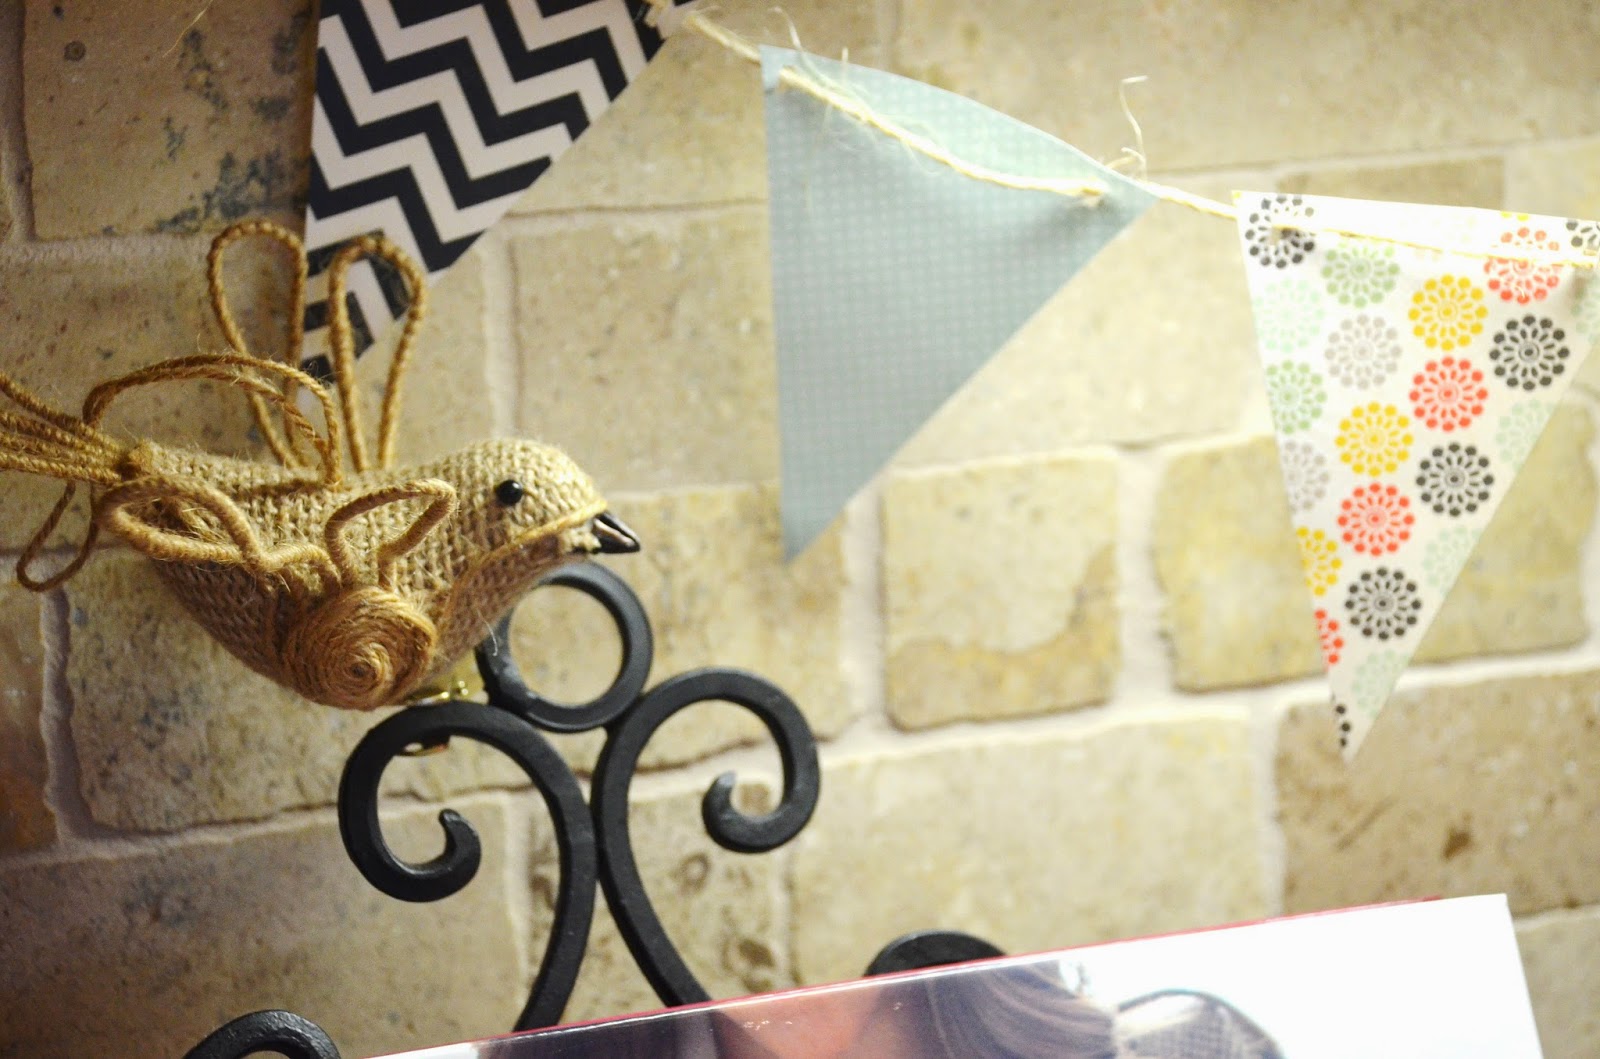
The theme for Emersyn's First Birthday Party was TIME FLIES!  With bird accents and decor as the main focus.  My sister did a great job putting this party together very inexpensively with a little creativity using just pieces we already had.  There are so many things to buy when throwing a party, one can really get carried away.  But by keeping the party the same color scheme as Emersyn's nursery, she save A LOT of money on the all of the party decor.  I helped my sister put the party together and by using things I had, with things she had in her home, and things from Emersyn's nursery, we didn't have to purchase anything extra for party decorations.  Only invitations, the cake, some fresh flowers, and the food and beverage supplies were bought for the party.

More about the decor of Emersyn's First Birthday Party:
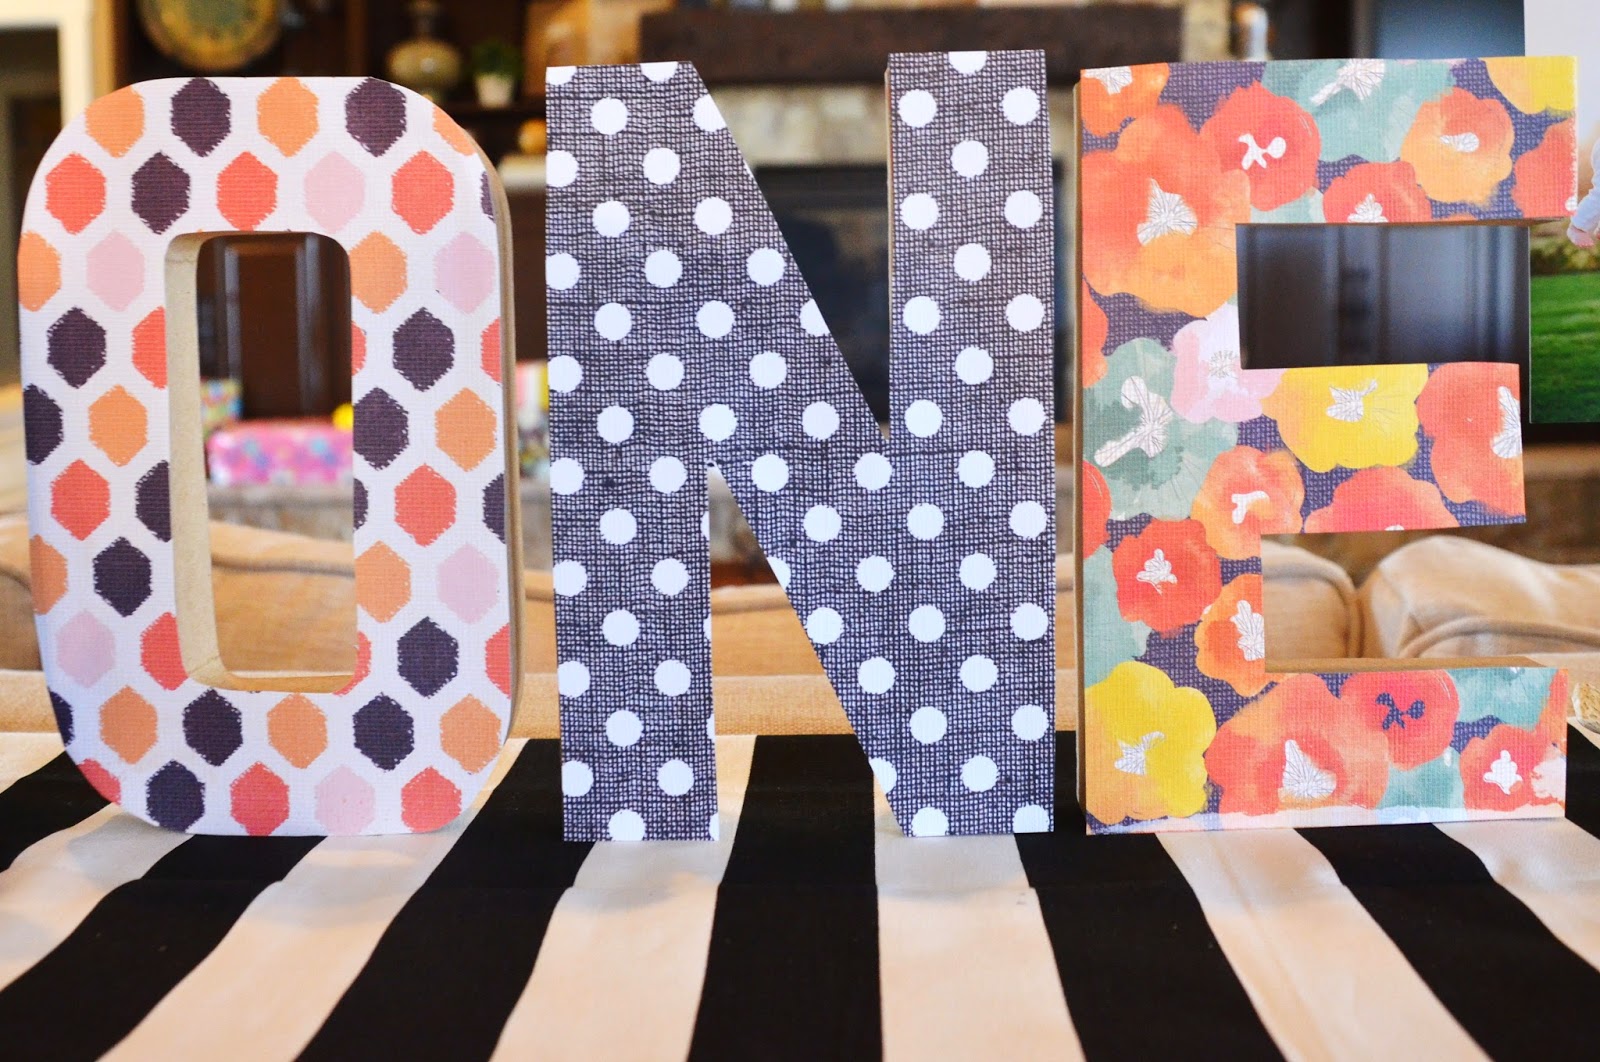
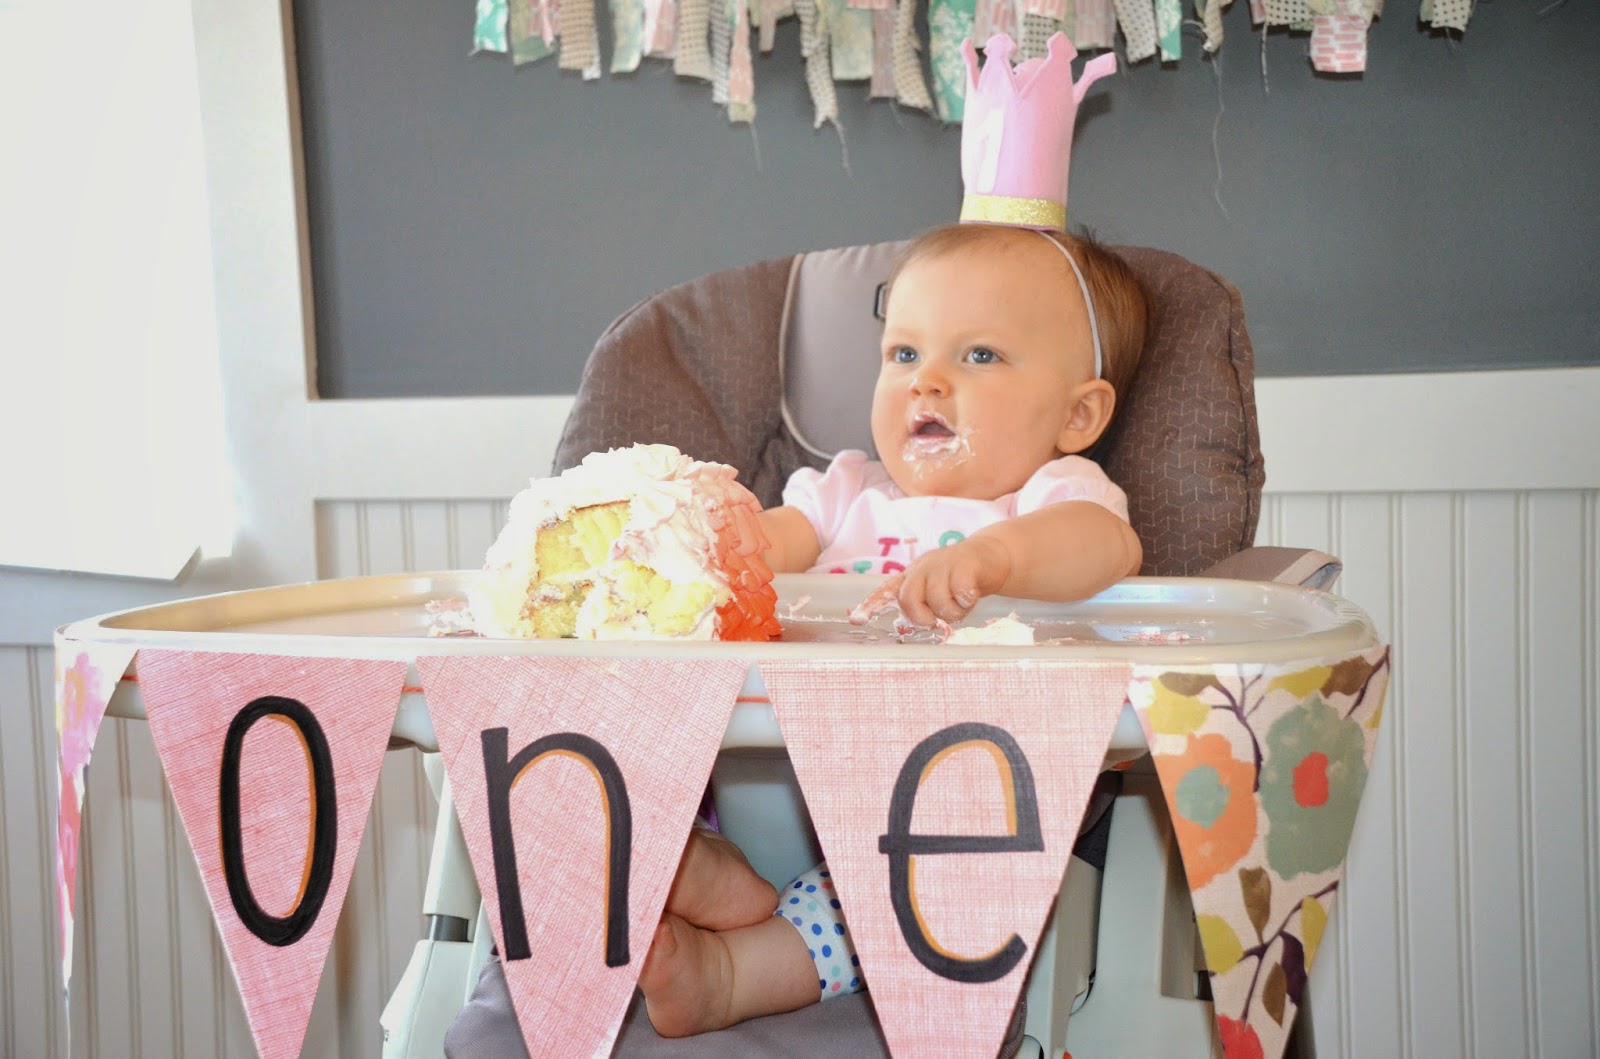
The ONE banner around Emersyn's high chair was made out of scrapbook paper.  The ONE was written on the paper with a marker and strung together with yarn.  The TIME FLIES banner was also made out of scrapbook paper with construction paper letters cut out and pasted on each pennant.  A banner of photos strung together below that of Emersyn at each of her 12 months.  The fabric streamers were made from scrap fabric left over from Emersyn's nursery when we made a gallery wall of embroidery hoops with fabric.  Strips of fabric were just torn and tied onto a piece of yarn.  I think the smaller scrapbook banner around her newborn keepsake shadow box might actually be a leftover from my wedding shower.  It helps to have a bin of leftover scrapbook paper and fabrics for parties and projects like this.  The large standing ONE were leftover from Christmas.  Yes, Christmas.  I used these to once spell out "NOEL" covered in red scrapbook paper.  My sister just recovered the letters to spell "ONE" and stand amongst the pictures.  All of the other framed pictures, signs, the yarn wrapped "E", and decor mainly came from Emersyn's nursery.  Okay, onto what you are waiting for -- the pictures....


*all photos were taken by me*

Monday, March 17, 2014

DIY 1st Birthday Pink & Gold Crown


I really wanted to make my niece something special for her 1st Birthday!  I thought about making a birthday gift like a toy or headband, or some kind of clothes for her, but couldn't decide what to do.  So when I stumbled upon these super cute birthday crowns on Etsy and on Pinterest, I knew this was exactly what I wanted to make her!


As some of you may know, I have a sewing machine that sits unused more often than not.  So, with this project, I was determined to practice my sewing skills!


Without really knowing how to make one of these crowns or where to start, I just started by drawing a template on paper for the size and shape of the crown.


I used pink felt from the craft store for the crown.  I then just traced and cut the design onto the felt sheet.  I did this twice.  So there were two exact crown shape that would be sewn together.  I doubled it so that it would be a little heavier and thicker in order to stand up straight better.


The one was cut out of white felt.


First, the ONE was sewn onto the front of just the top layer of pink felt.  This is so the ONE doesn't have to be sewn through both layers of PINK.  The two PINK pieces of felt, now that they are cut at the same size and the ONE is sewn on that top layer of pink, are sewn together, leaving the ends open. 


The GOLD strip at the bottom is just a strip of gold sparkly Washi tape that was peeled and stuck onto the front of the crown.  It stuck to the felt material perfectly so there was no reinforcement needed!


Once everything was sewn together, the extra fabric below the gold washi strip was cut off.  The open ends of the two pink pieces of felt were hot glued together.  I could have sewn the ends together, but at this point it was just quicker to hot glue.  I used the sewing machine for the putting the two pieces of pink felt together and the number ONE because I just loved the way you see the white stitching coming through rather than just hot glue for the entire thing.  But I think you could use hot glue for the entire project too for a quick project.


I hot glued the bottom of the crown to another piece of pink felt and cut the extra fabric around it to create a perfect circle the size of the crown.


A piece of stretchy elastic was hot glued to the bottom of the crown and the two ends of the elastic were hot glued together to create a headband. 


What You Need:
2 pieces of pink felt material 
(these come in rectangular squares at fabric or craft stores for about 79 cents each)
1 piece of white felt material
gold sparkle washi tape
stretchy elastic for headband
hot glue gun
fabric scissors
sewing machine
spent a total of $2.50 (versus well over $20 on Etsy)


If you don't want to take the time to make one of these birthday crowns, you can also buy them at Etsy.  Like the one below that initially caught my eye and was my inspiration for my niece Emersyn's crown.

https://www.etsy.com/listing/124529167/birthday-crown-pink-felt-crown-headband?utm_campaign=Share&utm_medium=PageTools&utm_source=Pinterest
via Little Blue Olive at Etsy

More party details coming soon!  The entire party turned out SO cute for a sweet First Birthday Party!


Related Posts Plugin for WordPress, Blogger...