Pages

Showing posts with label chalk art. Show all posts

Monday, September 22, 2014

An Outdoor Country Glam Wedding


It was the perfect Fall Saturday afternoon for a wedding!  The sun was shining.  Not a cloud in the sky! There couldn't have been a more beautiful wedding day for this outdoor country wedding of Jenny + Kenny!

Jenny has been a best friend to me since Kindergarten!  It was such a special day to help her prepare for the wedding and to stand by her side on the day she married her best friend!


I was honored to help her with her wedding decor for the event.  And of course I loved helping pulling it all together!  I am humbled that jenny asked me for so much advice when it came to her wedding decor.  She had a vision of this beautiful outdoor country glam wedding and we made it happen!

From the cowboy boots to the yellow sunflowers, to all the diamonds, jewels and lace, and country touches of hay bales and burlap, everything was perfect!


I had hours and hours of time in all the chalk board signs I made for Jenny + Kenny but they looked awesome!  I used chalk markers to get a more precise, clean edge to all of the hand lettering.  You can find these at craft stores such as Michael's or Hobby Lobby.  I used varying thicknesses of markers depending on what I was writing.  These will erase, but they are a lot harder to erase from a chalkboard or in our case most of the signs were chalk paint.  I will warn you that once you erase the chalk markers they most likely will have a slight imprint on the chalk paint that won't be able to be erased.  But you can always just add a layer of chalk paint again for a clean slate.  I had a lot of fun doing these for her!


Can't forget to show my handsome date!! 


In loving memory of James Edwin Stout 
{June 13, 1927- September 16, 2014}

{One of the most incredible, talented, compassionate, selfless, loving, funny grandfather's one could ever ask for!  He will be forever remembered and missed by many!}


Monday, December 9, 2013

{Holiday Decorating} Day 4: DIY Butcher Paper Art

I have a great, easy DIY project for you today!  It is inspired by the chalkboard art trend you are seeing everywhere.


The bathroom is one of those small spaces in your home that can't be forgotten to decorate for the holidays!  Do you decorate your bathroom for Christmas or am I the only crazy one?  Now, I don't decorate all of my bathrooms, just the half bath that guests use.  And with it being the holidays, I am sure there will be some visitors popping in from time to time.  So, it is nice to give it some small festive touches as well.

 It is such a small space, it doesn't take a lot to make a big impact.  Usually I just put a nice smelling Christmas candle in there, maybe a little Christmas statue on the lid of the toilet or fresh flowers and that is it!  Really, nothing too much.  


But this year with the chalkboard craze going on I wanted to do a little more decorating for the bathroom.  I think the idea of the chalkboard art and that hand drawn effect in the typography now is what makes us all love those beautiful chalkboard artworks.  So it's my own rendition and take on the hand drawn art for the holidays.  


I have this rather large piece of art in the bathroom that I got from Home Goods a couple of years ago.  It hangs behind the door so it is hard to get a good camera view of it.  It is a great oversized piece with lots of color for a small bathroom.


The idea of this project is to wrap the canvas print artwork like a Christmas gift basically and draw something on the front to have a similar look as all of the chalk art I love.

So, here's to putting my drawing skills to the test! 


First step is wrapping the artwork in butcher paper. 


I bought my butcher paper at Lowe's.  It is a huge roll of brown paper, really thick, that is under $10.  I use it for all kinds of things, craft projects, wrapping gifts, or home improvement projects.


I rolled it out on the floor and measured the frame before cutting.


Then, just wrap the frame with the butcher paper and tape it with masking tape.
(scotch tape won't stick, the paper is too heavy!)


 Now I just have to figure out what to draw!  I needed some inspiration and an image to look at before I decided what to draw on the blank butcher paper.  So I headed to Pinterest. 

I found this chalk art on Pinterest.  I'll give it a go! 

Source

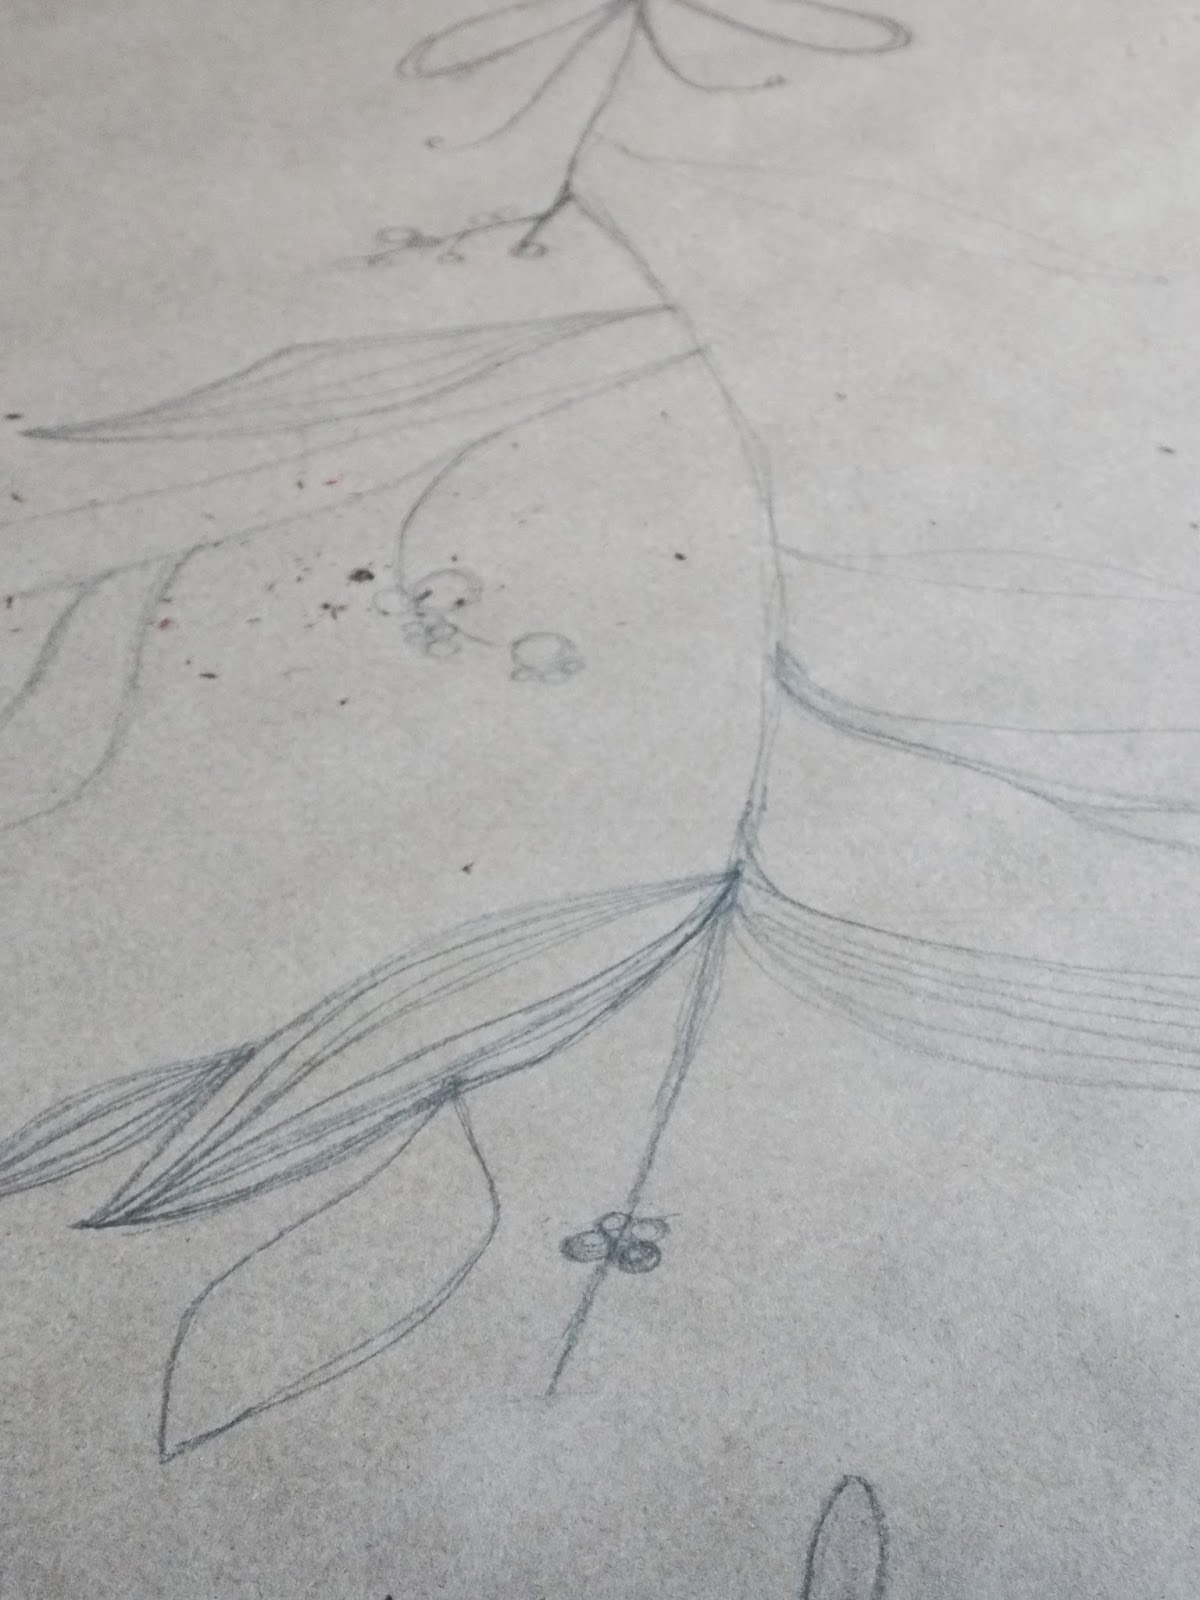
I looked at the picture for inspiration, and just began sketching!


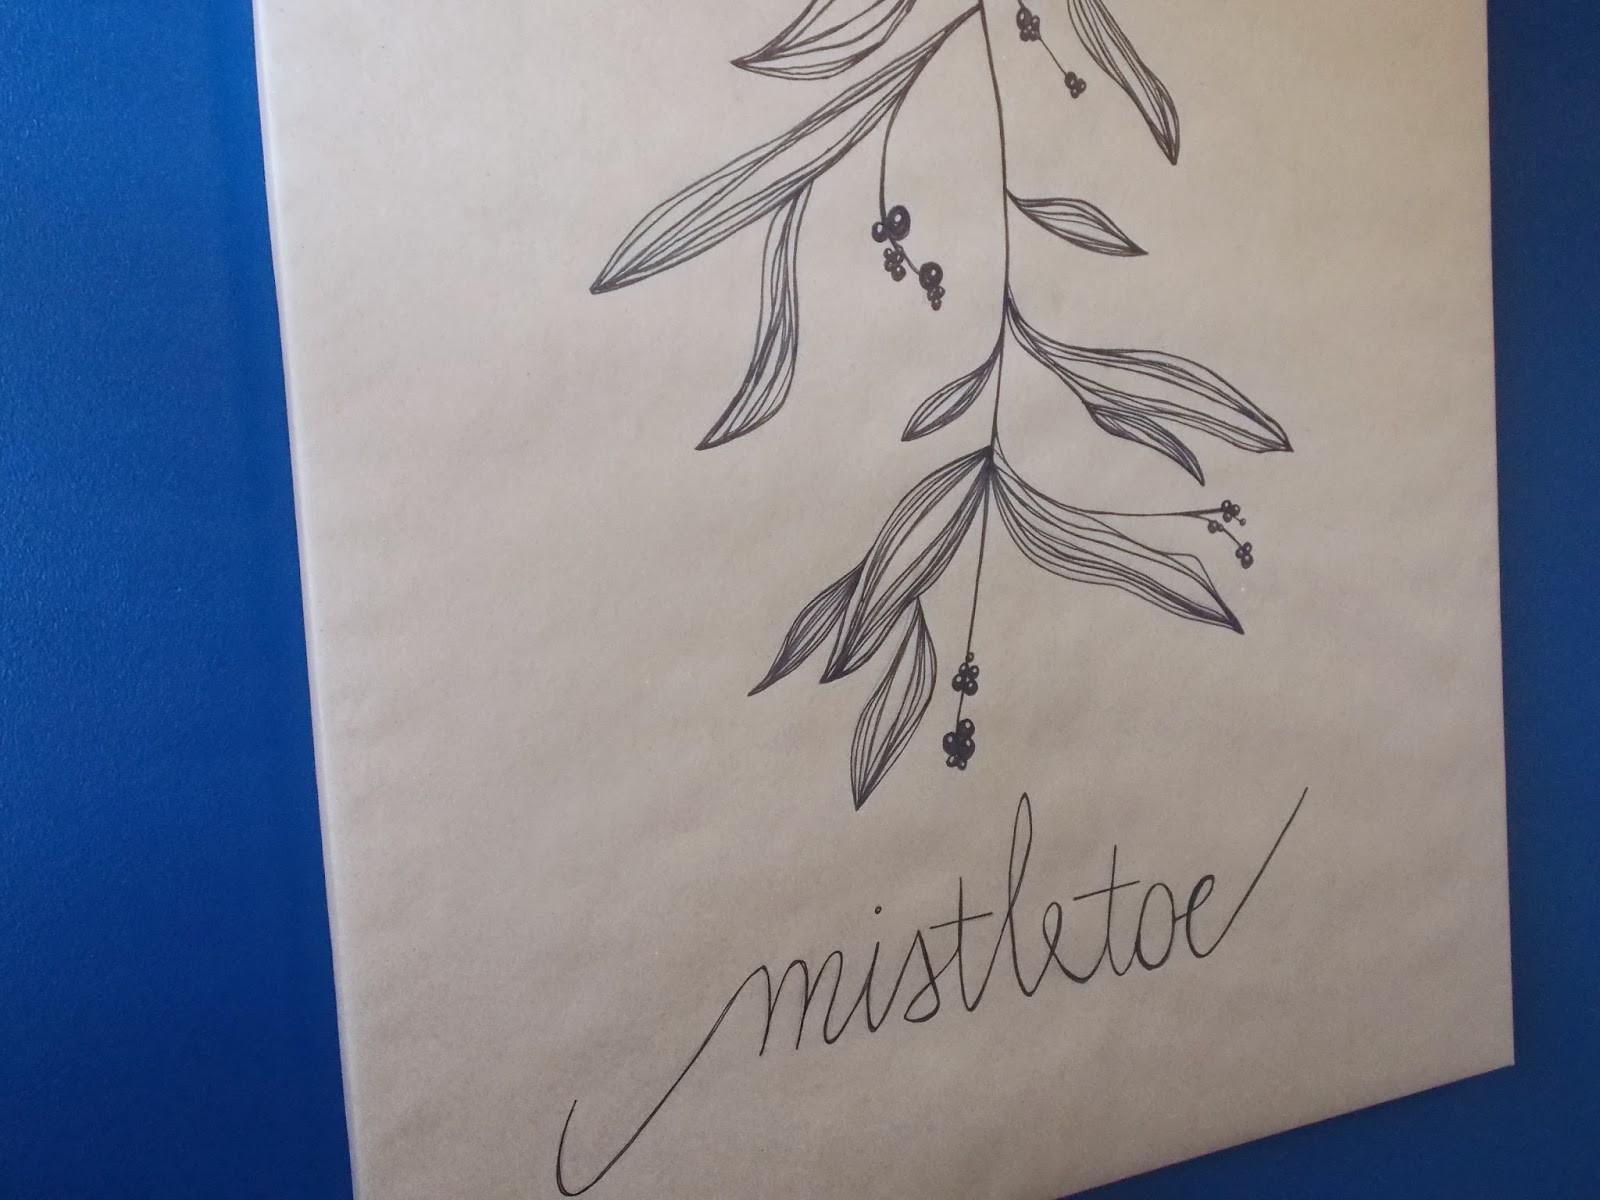
The picture is all sketched out, now I just trace over it with a black Sharpie marker.


It's obviously not chalk or a chalkboard, but you get the same hand drawn look and feel that I love about the chalkboard art.  It was a fun and easy little project to add some additional holiday decor to a small space. 

I love the idea of doing this for any special occasion.  You could easily make a "Happy Birthday" sign for a child, a wedding sign, a baby shower sign!  There are a lot of creative options to drawing on butcher paper!  You could cut individual placemats out of it for the kids to draw on or even wrap your table in butcher paper for the holidays for the kids to draw and play games!

As for the rest of this small, small bathroom.  


It's hard to take pictures in here because it is SO small!  It is also very dark due to some bad lighting and a dark paint color! 


 Easy things to add for Christmas decorating in a bathroom!
1.  Fresh Holiday Towels
2.  Fresh Greenery
3.  Christmas Statue
4.  Handmade Holiday Artwork

Pick up some butcher paper the next time you're out at your local hardware store and see what you can create with it!

Only 15 more days until Christmas!!

Tuesday, November 12, 2013

DIY Burlap Picture Frame {For the Holidays}


I know Thanksgiving is still a couple of weeks away, but my mind is set on Christmas!  In the retail world, once Fall arrives, Christmas is immediately on the brain.  I have been crafting up a storm to get new holiday decor in my shop booth.  I can barely keep up with all the other stores...not to mention Hobby Lobby who puts their Christmas decor on display in August!  That's too early in my opinion!

Everyone is LOVING burlap right now!  I especially love using it for craft projects around the holidays!  But have you seen the white burlap?!?  Burlap now comes in a variety of colors, but I am swooning over the white and my head is spinning with ideas of where to use it! 

Personally, I have always struggled with where to display all the Christmas cards we get.  I hate junking up the refrigerator and they are so pretty these days I thought people should have a prettier place to display them.  So after a quick trip to Hobby Lobby for the white burlap and a chance find at Goodwill,  I created a Burlap Open Frame Picture/Card Display that can be used all year round.


This is the frame I found at Goodwill for only 4 bucks!  It was already empty without the glass and backing, even better, and built solid with wood.  Perfect size for 2 rows of card displaying.


I started by cutting about 10 strips of the white burlap.  I knew I would need some kind of adhesive to get the burlap started.  I initially thought hot glue, but hot glue + burlap = blistered fingers.  So I pulled out my all purpose HEAVY DUTY 3M double stick tape.  This is commercial strength and I use it for everything!  My fingers were sticking to the frame this stuff is so strong.  It works just like double sided tape -- roll out a strip and peel off the back! 


And just start wrapping the frame with the burlap!


Almost complete and I ran out of burlap! 

No worries!  Just needed to cut one last strip of burlap!

And a Word to the Wise while working with burlap, especially white burlap, DON'T WEAR BLACK!  This is what happens.  I must warn you so you don't make the same mistake! :-) 


Finished product!


I used natural jute string to add to the rustic feel of the frame, tied to the back of the frame by picture hanging hooks.  I tied a sweet little plaid bow on mine to make it a little more festive for the holidays, but without the bow, this frame can be used year round for pictures, notes, or cards. 

Some other Christmas decor I am working on to sell in my shop!

Chalkboard Art Knock-Off
An open frame to easily change out your favorite holiday photos!
An open frame with burlap for displaying cards or photos.
A simple frame embellished with vintage Scrabble pieces.
Hand drawn details.
Scrabble art for the kid in you!

Don't worry this isn't the end to my holiday decorating and crafting....there will be lots more where that came from! What kind of crafts are you working on for the holidays?


Related Posts Plugin for WordPress, Blogger...