Pages

Showing posts with label recipe. Show all posts

Tuesday, February 10, 2015

Stella + Dot Trunk Show {Valentine's Day theme}


Who doesn't love a get-together with the girls looking at gorgeous jewelry, eating cookies, and sipping champagne?!?  Stella + Dot has some beautiful new pieces out for spring, so I invited some of my girlfriends over to swoon over all the pretty things...just in time for Valentine's Day!!


 I went to my first Stella + Dot party last Spring.  I loved their jewelry from what I saw online or on other friends, but seeing everything in person, is even better!  Their jewelry is amazing quality, very versatile as it can be worn multiple ways, and so it basically sells itself.  Katie, our personal stylist for the day, brought all of her pretty jewelry over to my home and we were able to try things on and learn all about Stella + Dot product.  I bought this amazing bag last year at my friend's party.  I use it every time I travel or go anywhere.   I did a post about that party here.


With Valentine's Day right around the corner, I thought a V-Day theme would be cute.  So I decorated my home with lots of white and pink and spring colors.  It helped my home feel so bright and cheery on a cold winter day.


I {love} having fresh flowers around the house!  Having friends over was a great excuse to run to my local florist and grab some fresh stems.  When it comes to flower arranging, I like to keep it to 1 or 2 types of flowers and group them together in a tight bunch.  These are just carnations.  They are really inexpensive and come in gorgeous colors.


{chalkboard art}


I found this bright, floral fabric in my scrap fabric pile so I just folded it into a table runner for my buffet table.


wine, champagne, striped straws, lemon water, hydrangeas, and polka dot napkins all make for a great girls day! 


I tried a new cookie recipe I randomly came across on Tori Spelling's website.  I saw a picture of these on her website and thought "those look so good!"  So when I saw how easy they were to make, I decided to make them for the party.


 The recipe originally came from Jenny Keller of Jenny Cookies.  You should look at her website just for all of the pretty pictures.  The photography is amazing and her website is adorable!


She even has a book called "Eat More Dessert!"  The recipe is SO easy.  This might be my new "go-to" dessert for get-togethers because they are just too darn cute + yummy!  The recipe is just a box cake mix with adjusting the amount of water, oil, and eggs.  You could do this with any type of cake mix.

Strawberry Sweetheart Cookies

Box Duncan Hines Strawberry Cake Mix 
(don't follow the recipe on the box)
1/3 cup oil 
2 large eggs
frosting 
(i used store bought cream cheese frosting but they included a butter cream frosting recipe 
on the original recipe if you want to use that)
Powdered Sugar for dusting cookies


preheat oven to 375.  use an electric mixer to mix the three ingredients.  the batter will be very thick.  using a teaspoon, measure out and roll equal sized dough balls with your hands and place on ungreased cookie sheet.  bake for only 7 minutes.  they will look like they aren't completely done, but you want them to be a little soft.  place the frosting in a ziploc bag or pastry bag and snip a very small hole at the end to pipe the frosting on one of the cookies.  applying the frosting this way versus with just a knife actually makes it go on much quicker and cleaner.  so, frosting goes on one cookie, and another cookie goes on top.  once they are all together with frosting, use a sifter to give the cookies a light dusting of powdered sugar.  that's it!  enjoy!


 {flipping through the spring catalog, trying to decide what to order, and trying NOT to order everything!}


For those that didn't make the party or went home dreaming of a piece, you can still shop this show until March 1st, 2015, 11:59pm Pacific Time - and you'll still have access to our special Trunk Show exclusive offers by clicking here or http://www.stelladot.com/ts/ujg46


Monday, November 3, 2014

Halloween Fun 2014!!!

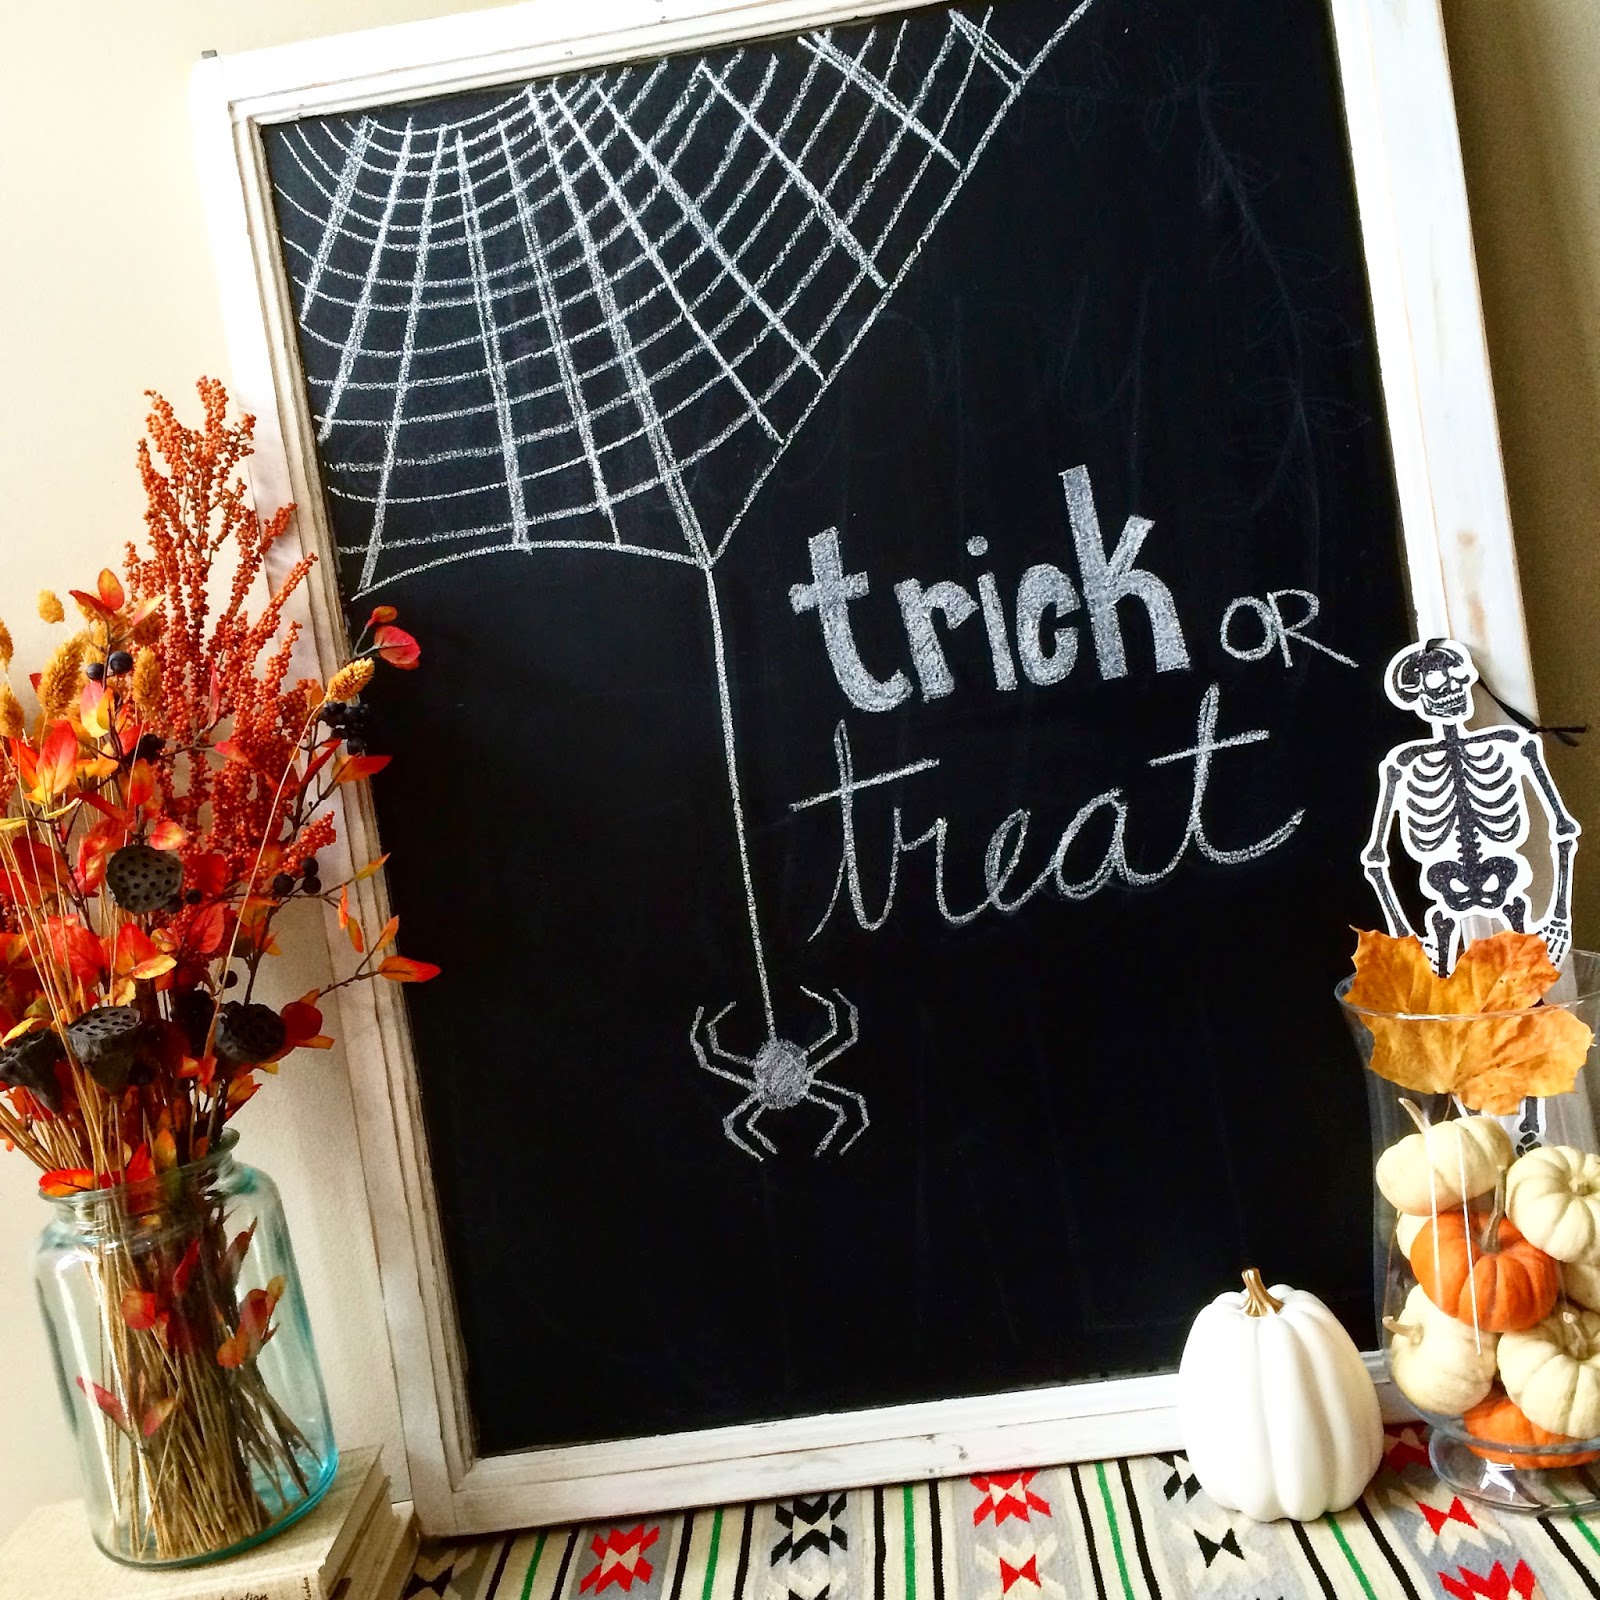
Halloween decor for my entry way!

My sister and brother-in-law hosted a family + friends Halloween Party this year.  I helped with some fun and easy spooky decor, ghoulish appetizers, and hilarious Minute to (Hallo) Ween It games!!! 


This was so fun and easy to create.  A great backdrop to capturing everyone's Halloween costumes!!  First, we just hung two strips of butcher paper.  Attached to the wall with painter's tape.  We hung some fake cob-webs, plastic over-sized spiders, and a couple of black spider web decorations to create a great backdrop for photos.


Out of our small group that attended the Halloween Party, Wayne & Garth from Wayne's World was the hot costume of the year!  With myself and my husband as Wayne & Garth and another couple!!!


Halloween Food!!


Dirt Pudding
with green food coloring for a more festive, ghoulish look and gummy worms


I put the pudding mixture in a ziploc bag for easy transportation into the individual cups.  For easy transportation to the party -- I loaded the individual cups into muffin tins so no cups went spilling in the car on the way there.  


I didn't make these cute spider cookies!  But they look awesome!! 


Pumpkin Cheeseball
2 packages of cream cheese
1 package of Buddig Beef lunch meat
1/2 Cup chopped green onion
1 Ranch Dip packet
3/4 Cup shredded cheese
3-4 TBSP Worcestershire sauce
(orange food coloring for the pumpkin color)

*there is no pumpkin flavoring, I just shaped the cheeseball to look like a pumpkin.  i used a stem from a red bell paper as the pumpkin stem.  used some chopped green onions as a little garnish on the top.  and made lines through the sides to give it a more realistic pumpkin shape!! *

Minute to (Hallo) Ween It!!


This is a great way to add some fun to any party!  They are easy games anyone can do with a party of any size.  And to make things interesting, we mixed the couples up so that we weren't teamed with spouses!!!


Wrecking Ball
{baseball or softball in this case, inside of pantyhose.  knocking down full bottles of water with the baseball, without using your hands.  it's a lot harder than it looks!!}


What a fun evening being out of character for a couple of hours and playing some greats games!!!  There were lots of laughs and lots of fun to be had!!  I hope this becomes an annual party!  It was too much fun not to!!


Thursday, August 28, 2014

Crock-Pot Apple Butter


I don't know what has gotten into me!  I made Apple Butter this week y'all!!  It must be because Fall is arriving soon/my husband LOVES apple butter/the fact that I was given a two pounds of fresh apples from an orchard that I decided to just whip up some apple butter the other day.  I have never made apple butter so, I had no idea what I was doing.  I turned to Pinterest of course for a recipe!  When in doubt, Pinterest has a recipe for everything!


Now, Pinterest gave me a variety of recipes for apple butter.  For the most part, they were all pretty similar, so I am sharing the recipe I put together from multiple recipes I found on Pinterest.


Peel, core, and quarter all of the apples.  I used about half fresh apples straight off the apple orchard trees and half store bought Fuji apples that I already had.  


Place the peeled apples in the crock-pot first and then dump the sugar, brown sugar, cinnamon, cloves, nutmeg, and water on top.  

(I made the mistake of buying whole cloves as you can see versus ground cloves.  They are not going to mix at the end, so I ended up picking them all out after I cooked them in so that the flavor was still there! Buy ground cloves!!)

Put the lid on and cook on low for 10 hours.  

Most recipes I found suggested cooking the apples overnight.  But the cinnamon and apples and nutmeg make your home smell SO good when this is cooking!  These scents really reminded of me Fall now!  So I suggest starting this in the morning and letting it fill your home with its aromas throughout the day! 


This is what your apples with look like after 10 hours of cooking on low - rich dark brown color

{ If you like your apple butter a little thicker, remove the crock-pot lid after the 10 hours and continue to cook off the excess water until it thickens.  I did not do that, so you can see mine is a little watery. }


Use a hand mixer to blend the apples to a smooth consistency.  I like my apple butter a little more on the lumpy side than too runny!  This is where you can taste it and see if you need any more cinnamon or spices.  I added a couple shakes of "pumpkin pie spice" just for the heck of it!  

Now what?  What are you going to do with all of this apple butter!?!  

You can refrigerate the apple butter and enjoy it/can it/or gift it - like I did!

I had some random Ball jars around the house, so I just used what I had and filled them up to gift.  I found a cute little mason jar label from Cottage-Industrialist for my Apple Butter.  It is a free download for all of your canning needs!


Instead of printing the blank labels and hand writing the "apple butter" on each label, I just opened the download in Powerpoint and put my text on each jar.  I made sure to include the date I made the Apple Butter so my recipients could remember how long it is has been in the refrigerator or freezer.

If you are keeping it to enjoy, you have a 2-3 week shelf life in the refrigerator.  You can also freeze the apple butter in Ball jars.  Or "can" the apple butter to enjoy year round!


I thought about really 'canning' some of the apple butter to store for a longer period of time and found a great, easy tutorial here, but then I decided to just gift it to some of my family!  Since I ended up not canning the extra apple butter, I haven't tried this method, but Southern Plate's tutorial does look super easy and it doesn't require any fancy "canning" utensils.  Just items you already have in your home, except maybe the jars.  I like tutorials like these that have easy step-by-step instructions with pictures!


I had no idea Apple Butter would be SO easy to make!  And in a smaller crock-pot, you could easily make a small individual batch of this to keep for yourself.  I will definitely be making this again in the fall and winter - even if it is just to make my house smell amazing for a day!!

Enjoy your yummy Apple Butter on hot biscuits, toast, or scones -- morning or night!!
Related Posts Plugin for WordPress, Blogger...