
Merry Christmas ya Filthy Animal!!
But seriously, it's Christmas today! I can't believe it is here already. It seems like it really does sneak up on us sometimes.
My husband doesn't really think they are necessary but I think they are adorable! I love receiving them, so why not give them too! I love seeing my friend's babies dressed in Santa hats next to the lit tree. Or the adorable family pictures -- with their fur babies of course! The screaming babies on Santa's lap. And all the other family portraits in between!!

So the debate came up about this year's Christmas card. Send? Or not to send?
Of course I said SEND!! My husband was neutral! But I was NOT going to spend money to get a professional photo taken just for a Christmas card! Totally worth it if you have kids. For me, not worth it for just a Christmas card sans kids! And by NO means are these professional quality!! A professional quality photographer is SO worth the money but just not in the budget this year!
So I came up with this brilliant idea to gather my other siblings together and their families for a couple of hours and take each other's Christmas card photos! My way of tricking them into taking my picture and then they get something out of it too!! :)
So enough talking....here's how our Christmas card photo shoot turned out!!!
The props.
You have to have props to make this a real Christmas card photo shoot!! I gathered together some of my Christmas decor to use for the photos -- an antique quilt from my great grandma that I also use as my tree skirt, a couple banners I made last year, some red ornaments thrown in a wire basket, and a sign I picked up last year at Meijer.


The location.
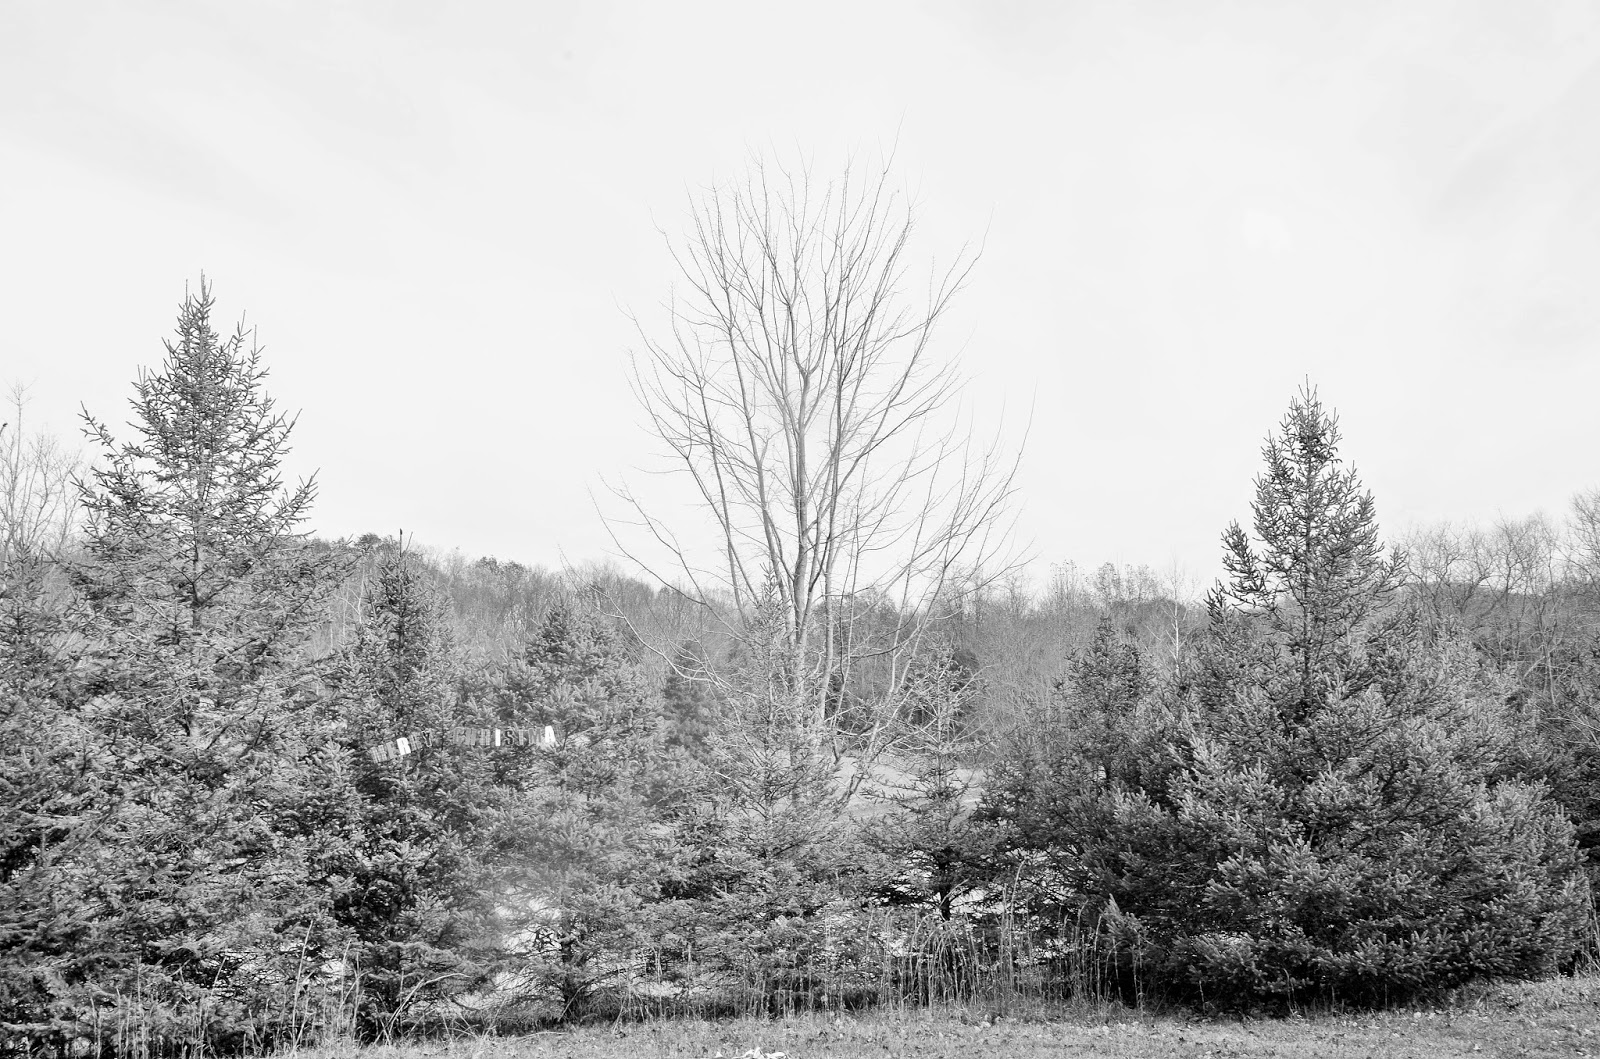
Originally I thought it would be fun to go to a Christmas tree farm for the photos, but that seemed like a lot of work for all of us. So off to Grandma's house we go!! She has a ton of Christmas trees in their yard (they live out in the middle of no-where in the country) two ponds in the area, and the neighbors awesome red barn! So it was the perfect location!


The photos.
It was a little tough to get all of our husbands to cooperate -- they just wanted to watch football and drink beer -- but I think they enjoyed it at the end of the day! ;)


My brother and his wife.


I had so much fun taking these photos of my niece! I love these detailed shots of her little moccasins with the fur rug and antique quilt.


My sister and her family.


I think after sending Christmas cards 3 years in a row, they are kind of expected by people now! But I loved creating our photos this year at my mom's house, so it may just be a new family tradition of spending some quality time together creating fun Christmas card photos!

{Merry Christmas & Happy New Year!!}


.JPG)


.JPG)


