
Another successful holiday Craft Day is in the books!! It was the 4th year in a row now that my sister and I have hosted a very successful, fun Craft Day with friends & family. I think this year was the best yet!!

Anyone can host a Successful Craft Day with just a few essentials:
ONE craft for everyone to make
(in the past we've tried to do multiple crafts and we have found it to be easier
to have just one craft that we can all individualize in our own way)
to have just one craft that we can all individualize in our own way)
food. snacks. appetizers.
a fun cocktail, wine, or champagne to bring holiday cheer!!

.JPG)
The Food.

roll out paper on the counter tops for easy clean up and a fun way
to let your guests know what food is on hand!


The drinks.

my drink of choice was champagne and fresh raspberries. we also had some
wine spritzers for our guests to enjoy!
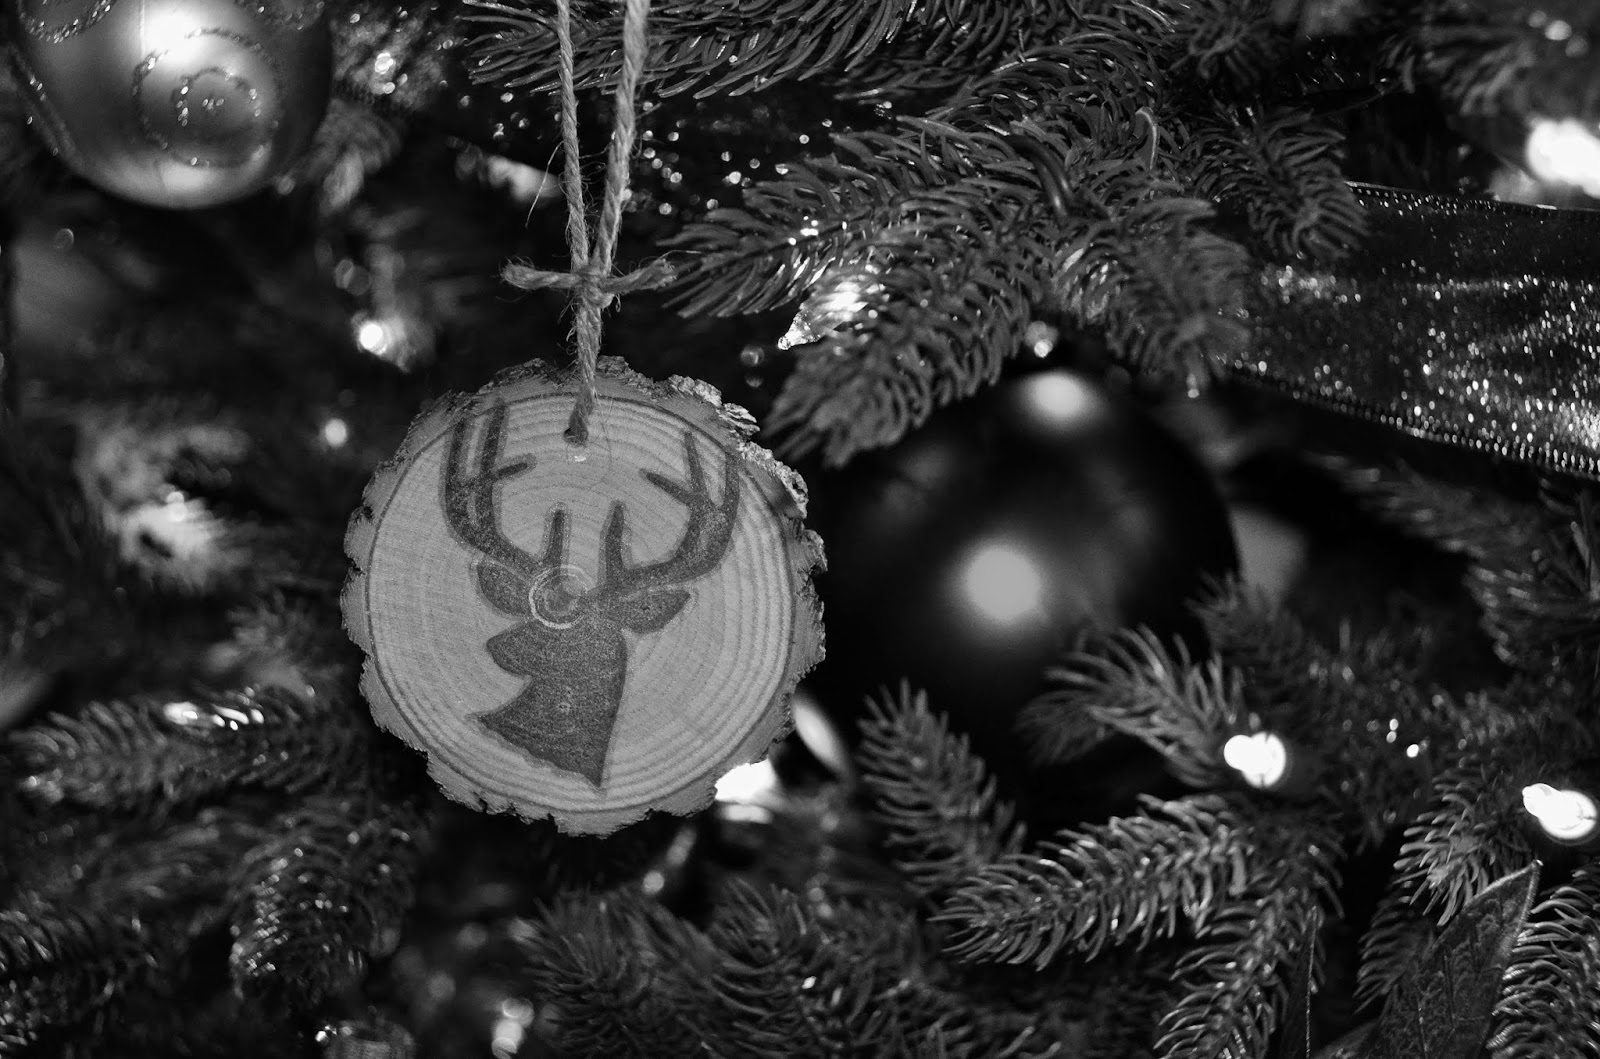
The craft. Wood Slice Christmas Ornament.

I LOVED this craft idea because each one of us were able to personalize the wood slice into anything we wanted. Some opted to make a Christmas Tree ornament. Some decided to make the wood slices into coasters. And some even made chalkboard banners by stringing multiple wood slices together.
To create a really successful Craft Day, I have learned over the years, that it is easiest to provide just ONE craft that each person can personalize and make their own. It also helps to have some ideas printed from Pinterest to give the crafters a little inspiration.


I also provided everything from paint, paint markers, chalk markers, glitter, scrapbook paper, mod podge, stencils and stamps from my crafting collection for everyone to make whatever came to their creative minds.
How to Make a Photo Wood Slice Ornament:

For all of these ornaments, first you need the tree slice!! My step-dad was awesome and cut up some tree limbs for us to use! Any type of wood should work. These limbs were about 4" in diameter. A perfect size for an ornament or a coaster. And about 1/4" or less in thickness.

After these were cut, I let them dry out for about a week. Some of the slices did crack and split, so they were tossed. It is important to do this step to make sure they don't split once you have them hanging on the tree!!

For the photo -- I printed my photos right onto regular computer paper. Some of the girls used actual photo paper. Both worked. The photo paper was a little more vibrant than just the computer paper. Make sure the photo is small enough to fit on the wood slice.
Cut your photo to size first. We found that the bottom of our wine glasses were the perfect size circles to trace around!! Place mod podge (a mixture of watered down glue) onto the wood slice. Carefully place the photo, already cut to size, onto the glue on the wood slice. Then paint more mod podge on the top of the photo. Be sure the edges get enough glue so they don't peel up. If you see streaks of glue, don't worry, it will dry clear!!


I used my drill with a small drill bit to get a hole in the wood slice. Perfect size for any type of string. I used jute string. But you can use a small ribbon, yarn, or even a wire ornament hook.


And that's it!!! It is SO easy and fun! Don't forget to add the year on the back or the front so you will remember for years to come! I love having a memorable DIY ornament each year to add to the tree!!
How to Make a "Chalkboard" Wood Slice Ornament
This one was by far my favorite!! We didn't actually use chalkboard paint, but you could! I just used regular craft paint in black. Paint the front of the wood slice with the craft paint.

If you want to change it year to year, you can still write on it with chalk. But if you want it to just look like chalk, then a chalk marker or white paint pen is a lot easier to write with. This is where the fonts and clipart and doodles from Pinterest comes in handy!!

I wrote on these with a chalk marker to create a Christmas ornament.


These were turned into fun little banners to string across your mantle!! If you are going to make a banner like this, drill two holes at the top about an inch apart so the wood slice can be hung on the string and they won't move around as much!


I used a regular Sharpie to write on this wood slice to create a monogrammed Christmas ornament.

I used a deer head silhouette stamp from Hobby Lobby to create a more rustic Christmas ornament here.


Serious crafting going on here!!

What a fabulous day with friends & family crafting!! Now the pressure is on to start thinking of next year's craft!! I really liked this one...maybe we will just do it again!!
Do you have a craft day with your friends around the holidays? What have you made at your craft day?

Im 100% completely jealous of this craft.
ReplyDelete